Baking Bread
For a while now I bake my own sourdogh bread. Not for health reasons or to be prepared for some crisis, no, because the process is actually pretty fun and the bread is super tasty. And it lasts. Even after nearly a week it’s still fluffy and not super dry.
“But seriously?!”, I can hear you ask, “2600 words for bread which you can buy at every corner?” Well, yes, I tried to write a detailed guide that answers many questions and allows others to follow along. It’s actually pretty easy and after you’ve done it for the first time, you’ll only need the Quick Reference. And by the way questions: If you have any, you’re welcome to ask them in the comment section and share your results, I’ll try to reply as soon as I can.
Quick Reference
Day 1
- Starter
- 80g water
- 80g flour
- 100g sourdough
- Wait 2h
- Mix dough
- 400g flour
- 325g water
- 12g salt
- Wait 1-4h
- Fold 1
- Wait 30min
- Fold 2
- Wait 30min
- Fold 3
- Fridge for 12-24h
Day 2
- Warm up 1h
- Fold 1
- Wait 30min
- Fold 2
- Wait 30min
- Fold 3
- Wait 1.5-2.5h
- Preheat oven with baking pan (and lid) to 260ºC
- Use an extra small bowl with water, if you don’t use a lid
- Assemble
- Spray hot baking pan with baking spray
- Pour dough into the baking pan
- Cut the surface
- Spray with water
- Lightly flour
- (Spray lid with water)
- Bake
- ~35min at 260ºC (with lid)
- ~10min at 230ºC (without lid) until nicely colored
- Let rest for 1h before cutting
Illustrated Guide
Before you get started, make sure you have all the equipment you need ready:
- Bowl with lid (3-4L)
- Kitchen scale
- Dough scraper
- Baking spray
- Water sprayer
- Baking pan (for example Pyroflam)
- 480g of flour (various kinds)
- 100g sourdough
- Salt
Sourdough is alive. A constant fermentation process is going on, driven by lactobacilli and yeast (says Wikipedia). The goal during the dough preparation phase is to grow a small, highly populated batch of sourdough into a large, highly populated batch. That takes, above all, time.
Day 1

Start by pouring 80g water, 80g flour and 100g sourdough into the bowl. I always try to measure very exact in this early stage, to not give the dough a rough start. For the flour I tend to use “whiter” flours here, i.e. finer wheat flour instead of rougher rye flour. That’s probably not necessary but that’s the way I do it.

To mix the ingredients I use two dough scrapers. These simple tools are basically all you need throughout the whole preparation phase. If I had to buy mine again, I’d choose some with a longer handle (the straight edges) to get less dough onto my fingers, but I have them and they are fine.

Start by stirring everything gently and transition to a more thorough mixing technique where you scrape the sides of the bowl, take some dough from the edge and move it towards the center of the bowl. With your other hand rotate the bowl towards your scraper hand. Sounds confusing but it’s actually pretty simple. Watch closely: I’m right handed so I use my right hand to scrape from right to left, pulling towards the middle at the end of the movement. All the while my left hand slowly rotates the bowl clockwise.

You can stop once the dough has an even consistency, after maybe something like 10 bowl revolutions or three minutes..? I seriously don’t know, but it doesn’t take long. Don’t worry if there are still some small flour lumps in there, they will dissolve over time. Use the second scraper to clean your first one. And done is your starter dough. Put the lid on the bowl and let it sit on the counter for two hours.
Now clean both scrapers under running water immediately. Same for your hands and basically everything that has dough on it where you don’t want it. This dough is very sticky, bonds with everything and it get’s cement like once it’s dried. Extensive soaking it in water helps, but cleaning everything right away is way easier. Believe me 🙄
2 Hours Later

When you come back to your dough two hours later, the bacteria from the sourdough should have spread out and multiplied emitting miniscule amouts of gas. As result the dough should have expanded slightly in volume and you should be able to spot a few tiny bubbles. If not, don’t dispair yet, it’s probably still worth continuing.


Next up is extending the starter dough into the complete version. Add 400g flour, 325g water and 12g salt. In this step I add a variety of flours. Whatever is at hand: regular, whole grain, spelt, rye, you name it. I gravitate towards “darker” and rougher variations with a strong emphasis on rye, that’s the way I like it. You can even add seeds or spices if that’s your thing (I have no experience with those, so start experimenting carefully).


Like with the starter dough I start by stirring the surface, digging deeper into the mixture as the consistency stiffens. In the end I do «The Fold». It’s very similar to the movement with the starter dough with a more pronounced element of sticking the dough scraper under the dough and pulling it to the top in the middle, basically folding the dough onto itself. Do as many revolutions as you need to get an even mix without floury patches. This is probably the most exhausting part as the dough is stiffest and you might need to fold it for something like five minutes. But you can rest for somewhere between one to four hours now. In contrast to the measurements the timings in this recepie are more a general rule of thumb than exact specifications. You can easily extand all of them (up to x2, maybe x3 for the shorter ones) to match your schedule. For once time is your friend, not your enemy. Put the lid on the bowl and let it sit on the counter. And don’t forget to clean your scrapers…
4 Hours Later
During this resting period the dough will have smoothed out by itself, grown a litle bit and again you should see some tiny bubbles on the surface. It’s time for some folding action! Do a couple of rounds, for maybe two minutes or so. After that, the lid goes back on and let it rest for 30 minutes.

Time for folding 2, another 30 minute break and finally folding number 3. By now you should have a very even dough with no traces of any lumps. And that’s it. This was day one. Put the lid on and place the bowl in the fridge for somewhere between 12 and 24 hours.
Day 2
After a good nights rest, take your dough out of the fridge and look at it! It has grown significantly, there are big fat bubbles all over the place and it smells slightly sour - hence the name sourdough.

If your dough looks nothing like this and instead hasn’t change much since yesterday, abort. Abort immediatly. You will not get a bread of of this mess. Putting it into the oven will turn it into a literal brick, fused together with your baking pan.
If your dogh does look similar, let it warm up on the counter top for an hour. Next up is another round of folding.


When you first dig in, you’ll see how porous the dough got through and through. While folding all the pockets of gas will collapse and after the usual few minutes the volume will be greatly reduced. But don’t worry, it will come up again. Now repeat the final sequence from yesterday: lid on, 30 minute break, folding 2, another 30 minute break, and finally folding number 3. Now we’re on the finish line. The lid goes on one last time and the dough rests for 1.5-2.5 hours. I usually start with the baking preparations after 1.5 hours.
Baking
Now shit is getting real. Sourdough bread is baked hot. Real hot. Like 260ºC. The dough needs these extreme temperatures to rise up quickly and reach a nice color without getting dry. So once you put it in the oven, you want your dough to get up to temperature as fast as possible. That’s why you preheat the baking pan. The heavier the baking pan the better it can retain the heat while outside the oven when you pour in the dough. Cast iron and pyroflam work great, thin walled cake tins not so much.
To turbo change the rising, you want some hot steam around your dough. There are two ways to achieve this: If you have a lid for your baking pan, that’s enough to create the desired climate in the pan. If you don’t, you need an extra bowl with water into the oven.
So, put your baking pan with the lid on a rack in the oven, roughly at the bottom third. If you don’t have a lid, put an extra bowl with a cup of water on the oven floor. Dial the oven to top and bottom heat and crank it up to 260ºC. While your oven is preheating, prepare your workspace for the next steps.

After the oven has been at 260ºC for about ten minutes, take out the baking pan and put the lid aside if you have one. And be careful here, use pot holders and coasters at all times, also for the lid!

Spray all sides and the bottom of the hot baking pan with baking spray. Make sure you reach every patch! If you don’t have baking spray, buy some. If you can’t find any, keep looking. If you found some but don’t want to buy it, well, there are other options but you might run into issues. You’ve been warned. The problem is the dough’s stickiness. It sticks perfectly to every surface of your baking pan and during baking this becomes an unbreakable bond. I had to cut and break bread out of a baking pan with raw force, destroying the bread in the process, and spent literally hours afterwards soaking the remains in water and scrubbing them away piece by piece.
One alternative is baking paper. This can work and I used it for my first breads. It needs to be high quality though. The two sides of baking paper are sometimes slightly different. One might work better than the other, unfortunately I can’t tell you which one. The biggest problem with baking paper is that every bend causes wrinkles, the dough creeps into these wrinkles and bonds with it when building a crust. Now the baking paper is part of the crust and you can either try to pick it out a square millimeter at a time or cut it all away. Both options suck. So your goal is to avoid wrinkles at all costs. I used to cut the baking paper into shapes, one rounded square for the baking pan bottom and one long strip for the walls, looped together with a paper clip. This kinda worked, but the walls weren’t completely straight, there were gaps between the bottom sheet and the wall strip and there were still some wrinkles. Oh, and prepare all the baking paper origami while the baking pan is still cold. You’ll want to handle that 260ºC hot thing as little as possible.
Another option is a cast iron pan. I don’t have one myself, so I can’t speak from first hand experience. Apparently the rough surface of cast iron has some magic properties that the dough doesn’t stick to the walls. The bottom still needs to be prepared though. Powdering with cornstarch apparently works and so does a baking paper cutout.
Seriously, just get baking spray. Nothing is more annoying and frustrating than having to destroy your prefectly baked, finshed bread just because you can’t get it out of the baking pan.
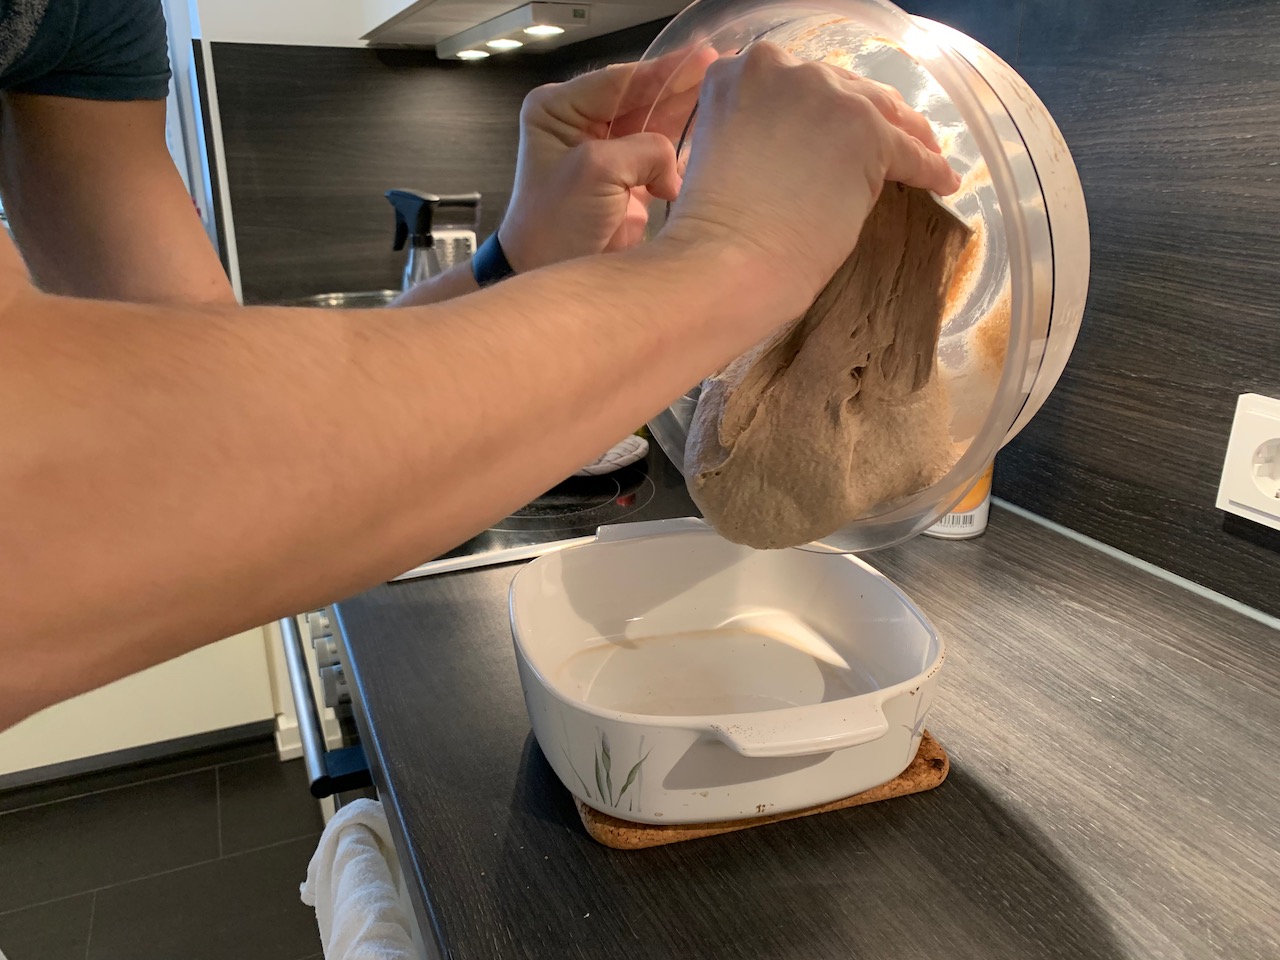
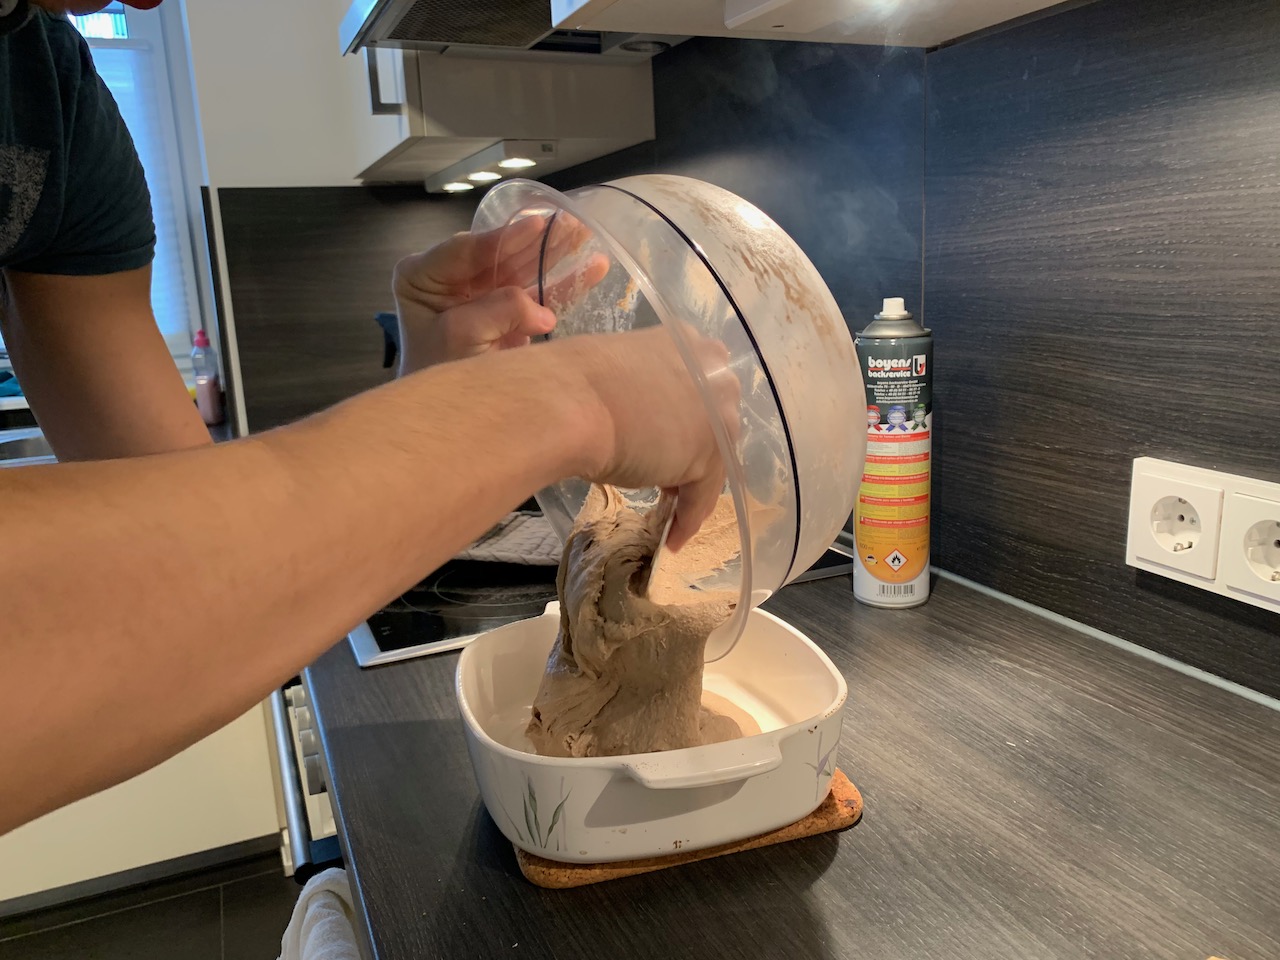
Next pour the dough into the sizzling hot baking pan. Hold the bowl above the baking pan and scrape it out. I normally don’t bother to get every last piece of dough, to not spend too long on this step.

Now use a sharp knife to cut through this gooey blob. It’s hard to believe, but this is where the crust will crack. You can also do more than one cut if you like. I still haven’t perfected this and the crust of my breads always also breaks at different spots. Maybe I should do more than one but not so deep cuts, but that doesn’t work with my knife. I heard razor blades work nicely, but I haven’t tried them yet.
Adjust the water sprayer to very fine droplets and pump it once or twice to moisten the surface. Now flour everything lightly.
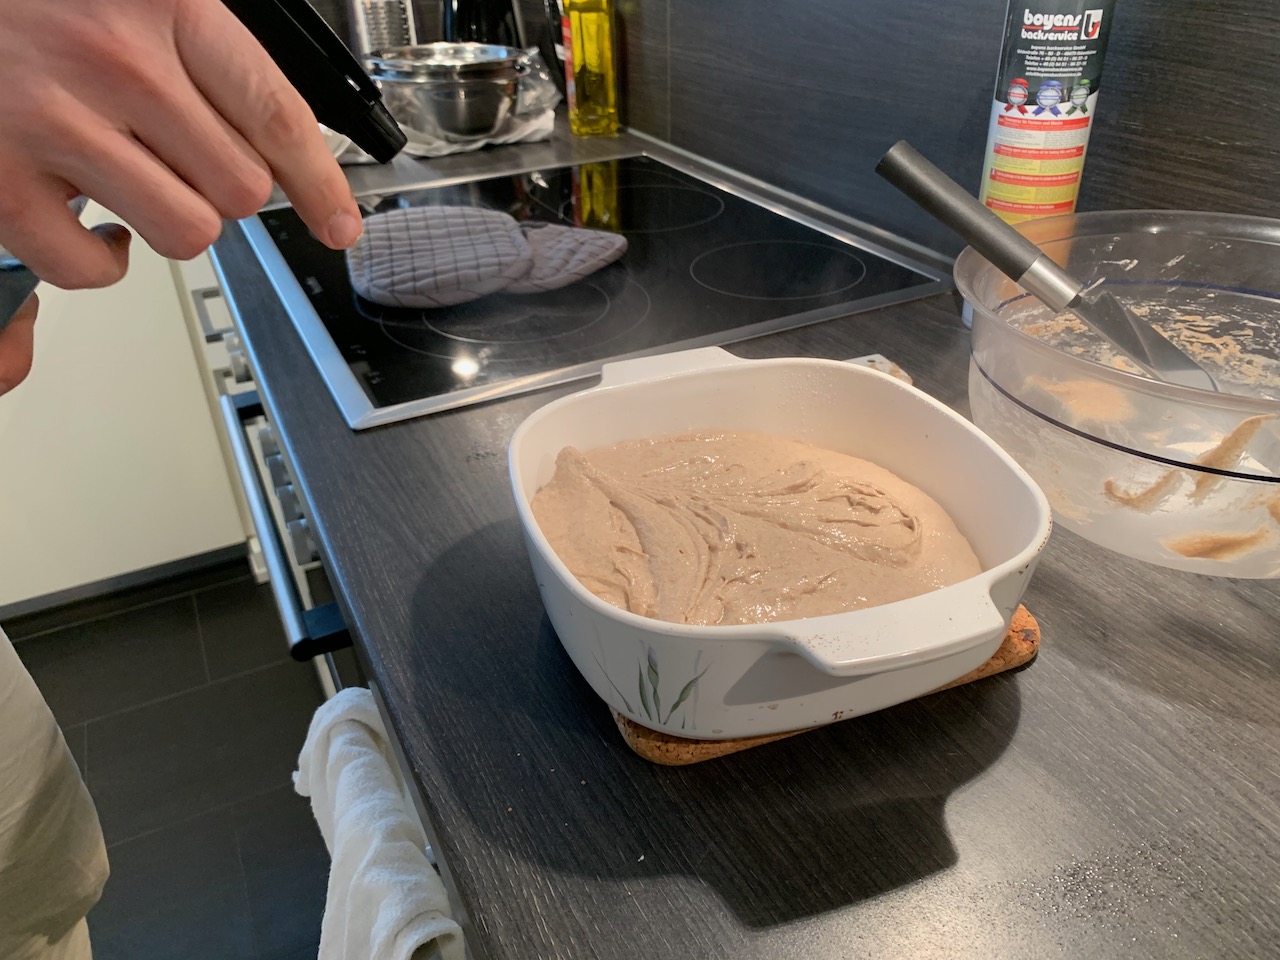
Finally spray the lid with some water. Well, if you have a glass lid this might not be such a good idea. In hindsight it’s actually surprising that it worked so often…

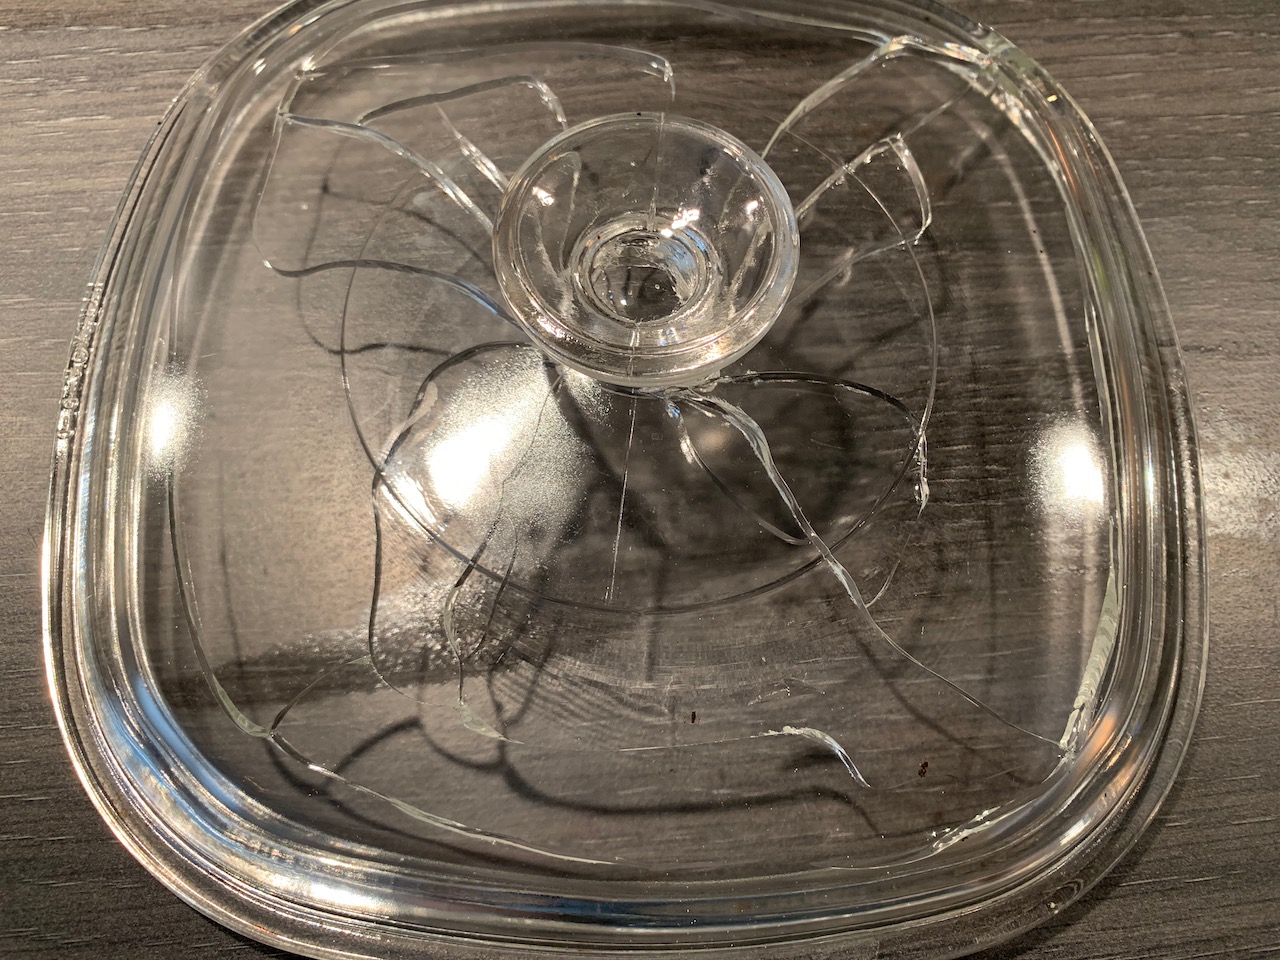
Looks like I’m baking without lid now, too. But with steel or cast iron lids this works great and creates some additional steam in the baking pan.
With or without lid, shove it in the oven. Bake for 35 minutes at 260ºC. If you use a lid, take it off now. Reduce the temperature to 230ºC and bake for another 10 minutes until the curst has a nice color. Without lid the times might be a bit shorter. If the bread darkens too quickly, reduce the temperature earlier.
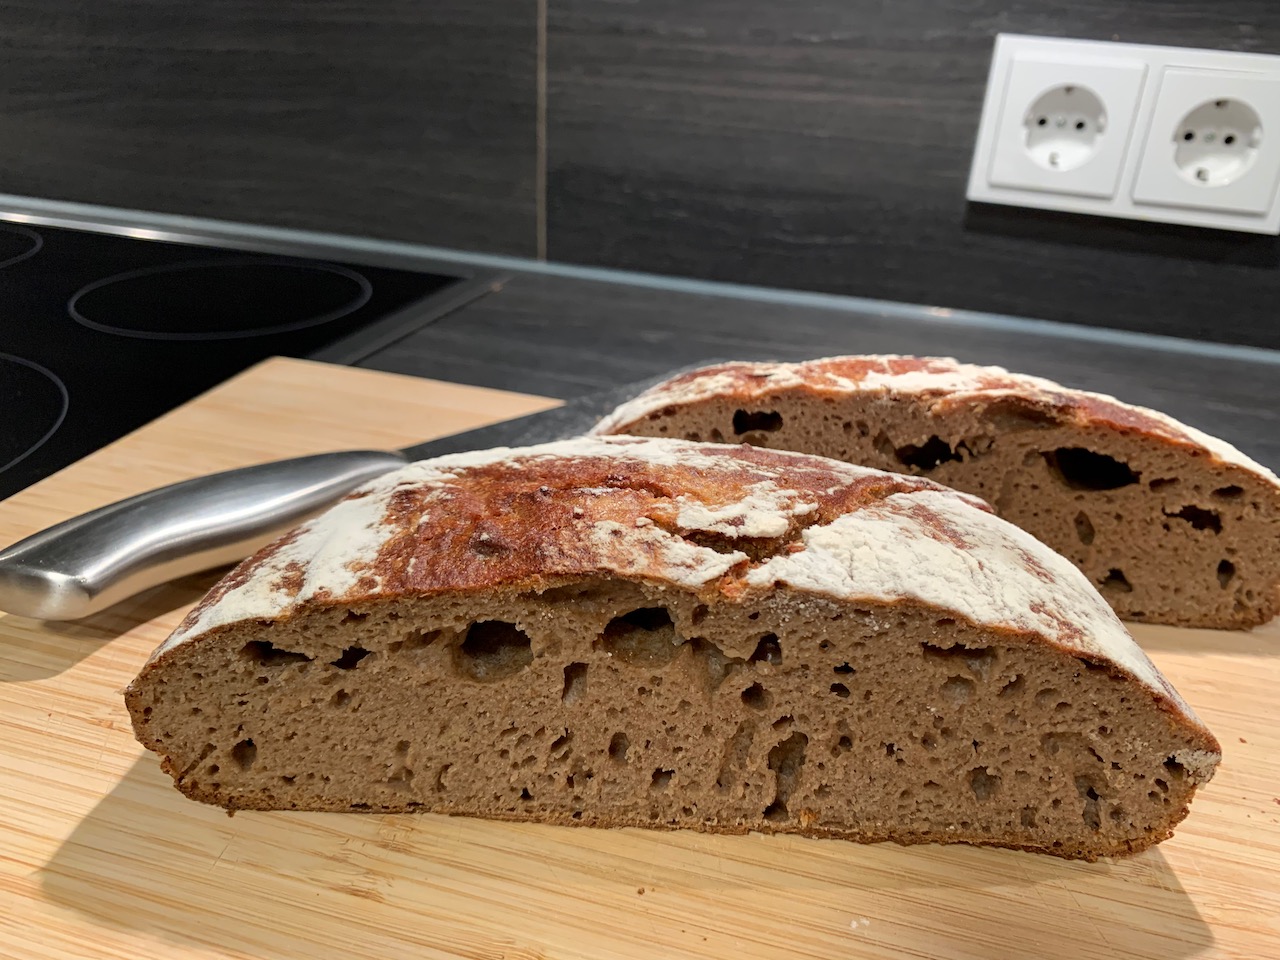
Finally take your bread out of the oven, turn the baking pan upside down, and if you used baking spray your bread should slide right out. If it doesn’t, it’s time to get creative. Let it cool for an hour before cutting it. After it has cooled completely, I usually put half of it in the freezer for next week.
Dough Maintenance
The core ingredient is sourdough. It’s basically a mix of flour, water and lactobacilli and yeast. The first two are easy to come by. But where do you get the other two?
The First Dough
For your first sourdough you have three options:
- Grow it yourself
- Get it from somebody else
- Buy it
I haven’t done option 1 myself yet. It should be pretty easy and a matter of letting a mix of water and flour sit on the counter for a week, waiting for it to catch some yeast out of the air. If you’re intruiged, you’ll probably find insturctions online. I’ll update this post once I grew my first dough.
When I started, I got my first sourdough from somebody. That was super easy and felt a bit like I got one of their pets to take care of. Unfortunately it died during one of our longer vacations.
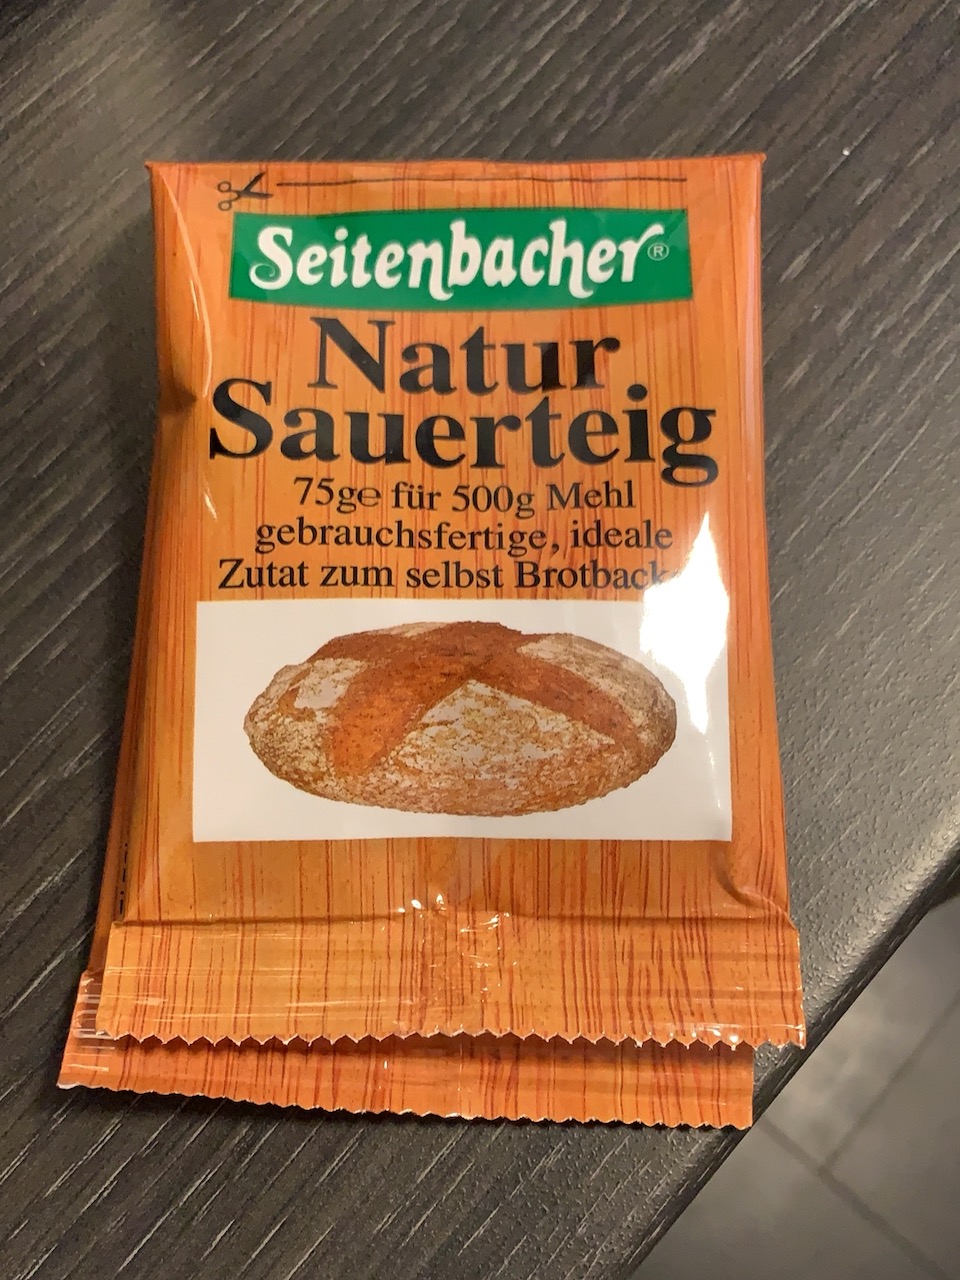
This time I went with option 3. I bought two packs of sourdough, 75g each. After the first bread this left me with 50g to grow.
Future Generations
After each starter dough, you should have some sourdough left over. Plan accordingly. If you just let it sit on the counter, the bacteria will chew through the available material and die. To prevent that you need to regularly provide new food. But what do lactobacilli and yeast eat? No big suprise: water and flour.
There are three simple rules how to feed your sourdough:
- Add water and flour 50/50.
- Never more than double.
- Feed every day if left on the counter and every week if stored in the fridge.
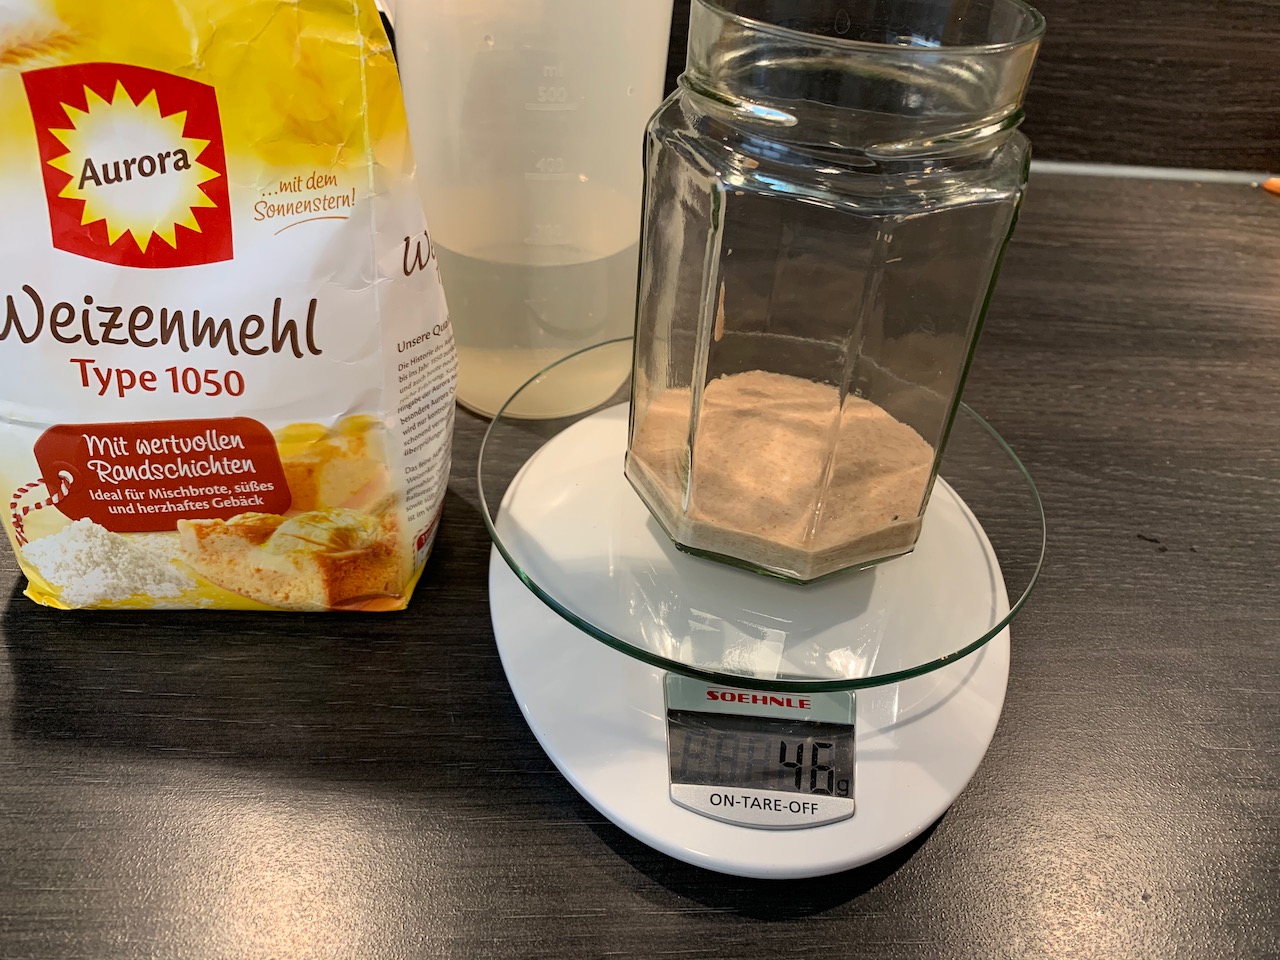
I start by pouring boiling water into an empty jar to desinfect it and kill anything that might mess with my sourdough. After roughly one minute I empty it and let it cool. This time I had only 46g of sourdough left, so I added 23g of flour and 23g of water and mixed everything with a spoon. Here again I use “whiter” flours because I assume they are easier to digest, however this isn’t based on any research at all. And apparently rye sourdough is more robust, but I didn’t want to tax this bought sourdough too hard. I feared it might be weak sauce.


Because 96g isn’t even enough for another bread, I wanted to grow it further. So I put the lid on and left it on the counter. But don’t screw the lid on! Just set it on top so air can still escape. The dough will expand and you don’t want your jar to explode (very unlikely but even hindering the expansion would be bad).
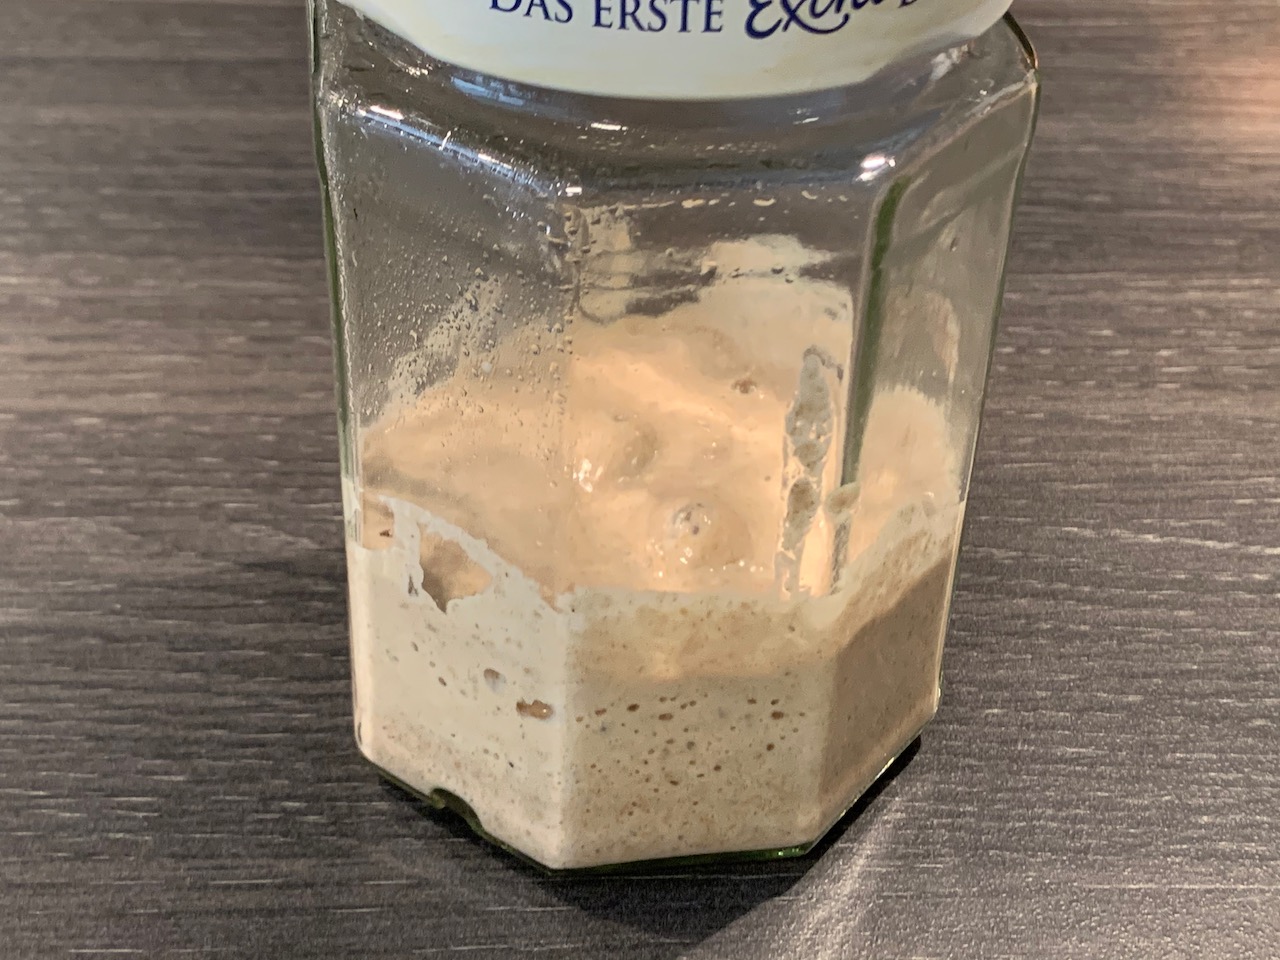
The next day there were many nice and fat bubbles in the dough and it smelled lightly sour. I added another 50g flour and 50g water, gave everything a good stir and put it in the fridge. The cold temperatures in the fridge slow the metabolism of the sourdough and what previously took a day, now takes a week.
Coming next week, I started with a fresh jar, desinfected it with boiling water, transferred 110-120g of sourdough, topped it up with 50g flour and 50g water, stirred it and put back in the fridge. I like to have a little bit more than exactly 200g of sourdough, because there’s always some loss when transferring the dough.
The leftovers in the old jar I flush out with a lot of running water and I keep flushing the sink with even more water. You probably know the properties of the dough by now and don’t want that stuff to dry in your pipes. Once most of the dough is gone, I fill the jar with water and let the crusts soak in for at least a couple of hours before cleaning them off.
Whenever I want to bake a new bread I try to remember when I last fed the sourdough in the fridge. Nearly a week? Good, then just use it. If it’s only been a couple of days, I let it sit on the counter for the night to accelerate the growth and start baking the next day.